How To Install A Heater On The Honda Talon Or Honda Pioneer
Nov 1st 2022

If you’re using a portable Buddy heater, heated seats, or an electric-style 12V heater in your side-by-side, you shouldn’t need installation instructions. But if you ordered an Inferno cab heater with an upper defroster unit, an under-seat Firestorm cab heater with multiple vents, or an Ice Crusher heater with a thermostat bypass valve, you might need some help installing it. Some off-road heater companies include thorough instruction manuals with their heaters, but not all do. So if your heater kit came with poor instructions or no instructions at all, here is how to install a heater in your Honda UTV!
Honda UTV Heater Parts
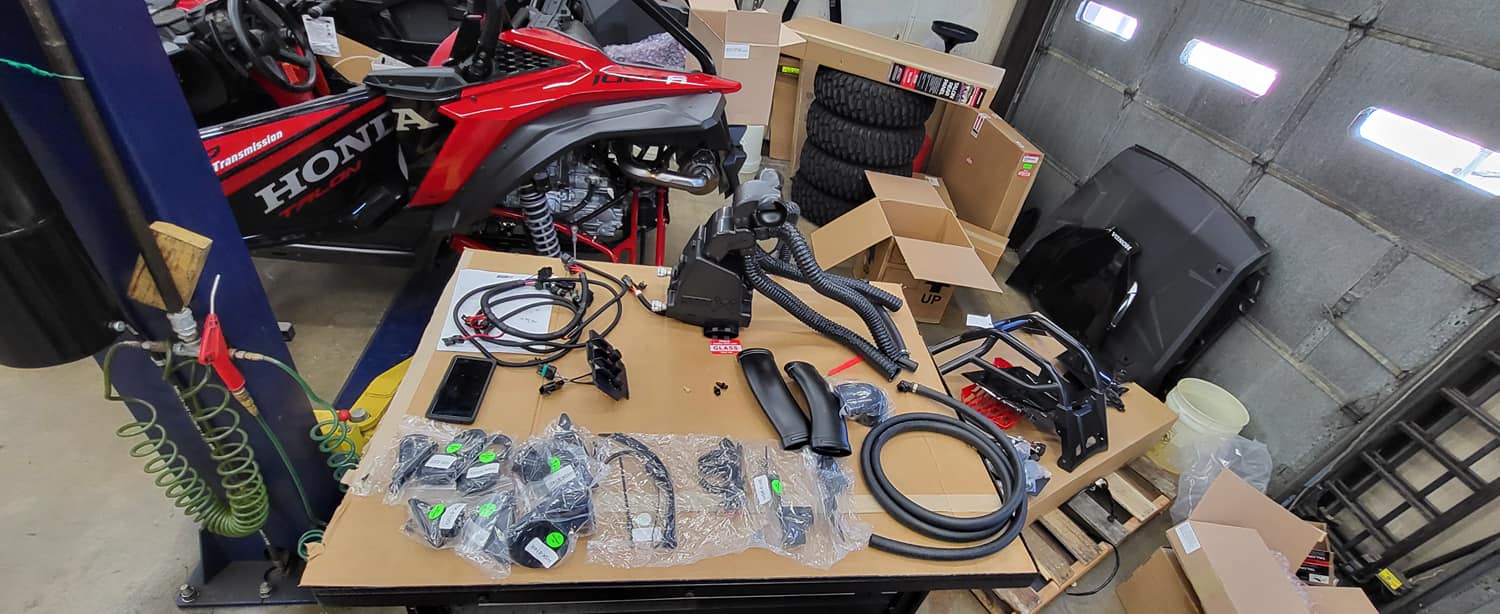
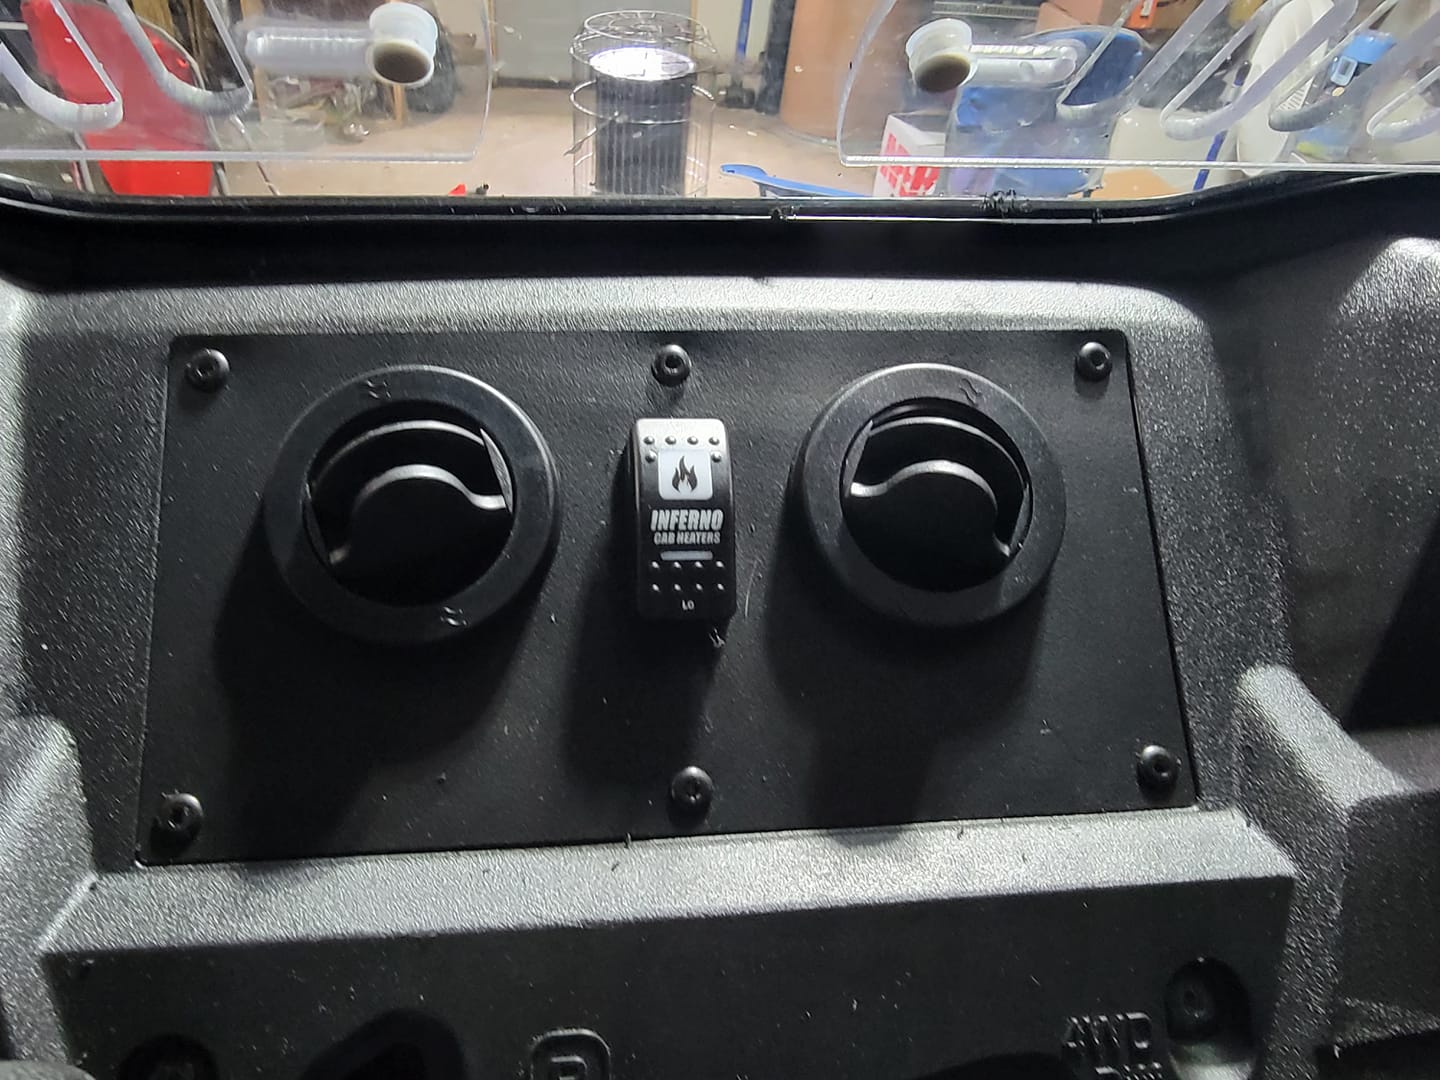
Your Honda Pioneer or Honda Talon heater kit should come with ducts and Y-adapters for the ductwork, which connect to the louvers that you place in the dash, under the windshield, and in other locations around the vehicle. The main blower of the heater system is where you connect the ducts, and it also has one coolant line for incoming fluid, and one coolant line for outgoing fluid. This is where most people get lost, as it requires you to splice into the existing coolant lines.
Your heater kit should have come with all the required clamps, grommets, and other hardware. You’ll need bolts, nuts, and washers to secure the heater assembly to the seat through the skid plate -- if you're mounting it under your seat as opposed to under the hood -- as well as wire ties to hold the ducts in place.
To cut holes for the ducts and coolant lines, a hole saw and a Dremel tool are recommended. You’ll also want a regular array of flathead and Phillips screwdrivers, pliers, and a ¼” wrench to undo the hose clamps on the coolant lines in the engine compartment. To remove the bolts under the engine cover, you’ll want a set of Allen wrenches, and for your electrical work, you may need a heat shrink gun, a soldering iron, electric tape, and some wire nuts.
In addition to the heater itself, you might also want some additional products like gaskets for the front louvers and heat shield liners / pipe insulators for any ductwork that you run near the hot coolant lines.
Installing A Honda Pioneer / Honda Talon Heater
There are a few different ways to install a heater in a Honda Talon or Honda Pioneer, and it can depend both on the heater style as well as your vehicle style. For the Honda Pioneer 1000, the Pioneer 700, and the Pioneer 500, you can either mount the heating unit under your seat, under the dash, or under the hood. There's also an option to mount a heater in between the seats in the back for 4-door vehicles.
As far as wiring goes, most people tap directly into their 12V cigarette lighter, but you can also connect your heater into an accessory fuse block, a bus bar, or an auxiliary battery. Your kit will come with a dashboard switch, a wire harness, and a switch plate. If you’re running other accessories and already have a switch panel, you won’t need the switch plate.
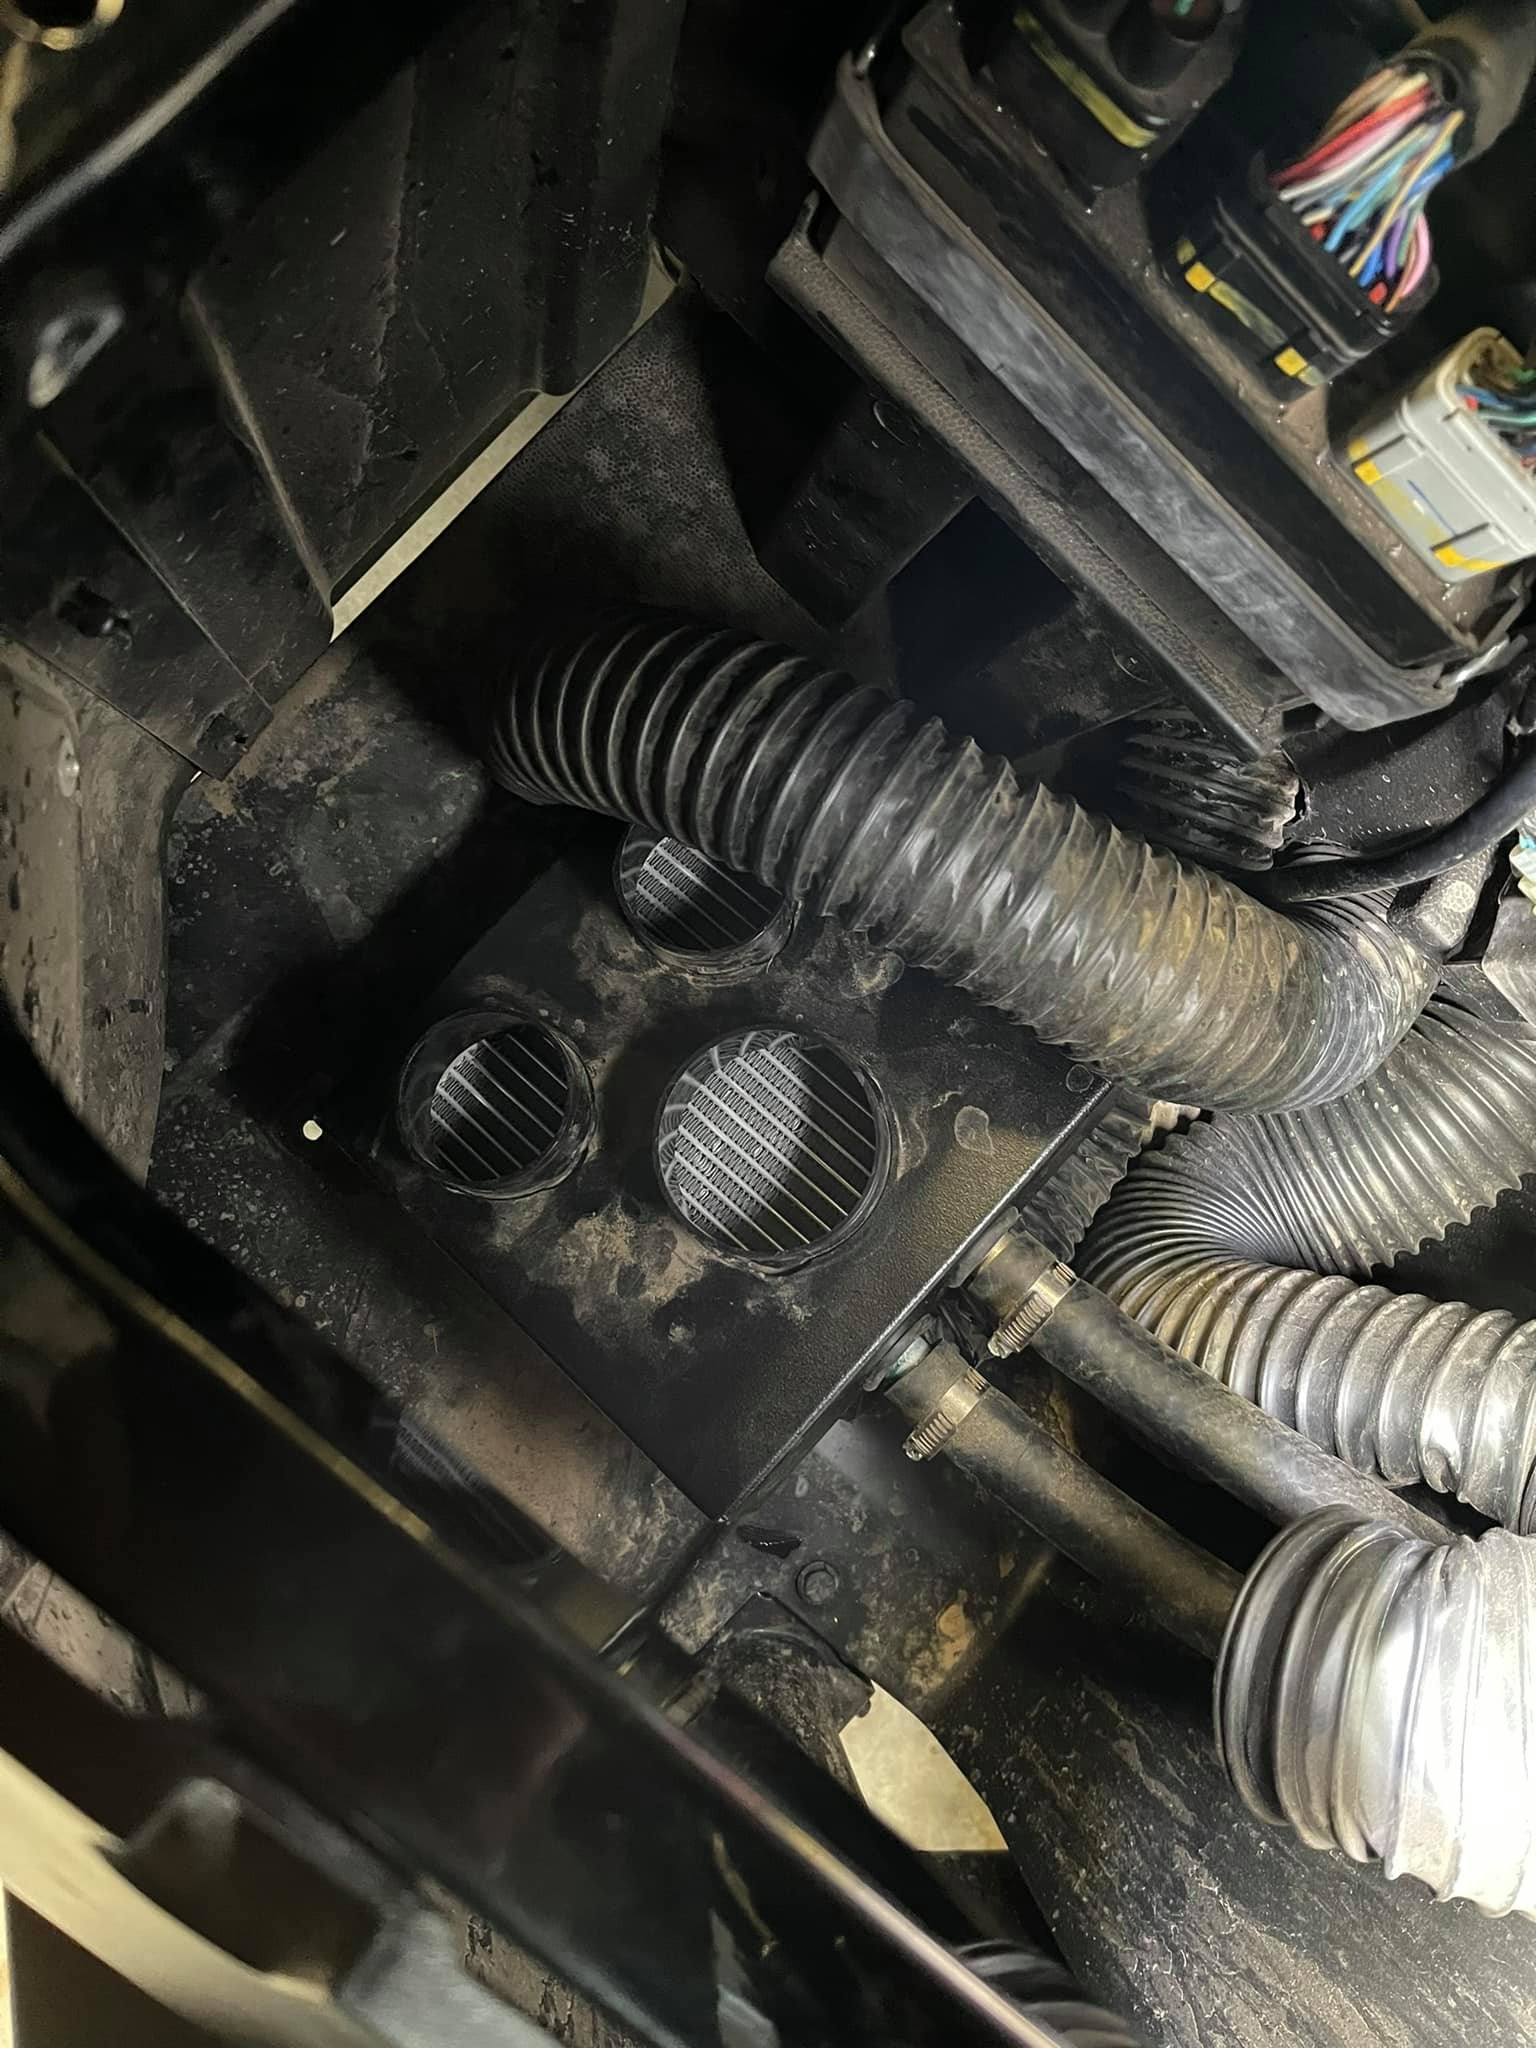
It’s likely that you’ll require a day or two -- or at least an afternoon -- to install your heater, and if you have a second set of hands available, that helps a lot! Installing the ductwork is pretty straightforward, and the heating unit itself can be mounted behind / underneath the firewall, or under the seat through the floorboards above the drivers-side skid plate. The trickiest thing about a Honda Talon or Honda Pioneer heater install is plumbing in to the factory coolant lines.
You’ll need to remove a good number of other parts before you can even access the engine coolant lines, and during this step, it’s important not to mix up the inlets lines with the outlet lines. The inlet section needs to be connected to the uppermost line coming out of the engine, while the outlet section needs to be connected to the lower line. If you can’t splice directly into the upper line, you may instead choose to connect your inlet line direct to the engine. For the return line, a T adapter is required, and you'll need to make sure that there are no kinks or hard bends in your newly attached heater coolant lines.
Other Thoughts On Honda Pioneer and Honda Talon Heater Installs
There are ways other than the ones previously mentioned to install a heater in a Honda Pioneer or Honda Talon, and as we stated earlier, it’ll also depend on your model / edition and the heater brand you choose. The 40,000 BTU Jegs heater, for instance, can be mounted in the middle against the firewall blowing backwards towards the seats, and the SuperATV heater can be plumbed in line with the oil cooler instead of how the instructions show.
It might be obvious, but heaters work best if your side-by-side is enclosed. And if you seal up all the gaps in your doors and firewall, you’ll be cooking even hotter in the cockpit!
Depending on where you mount your heating unit, it might be susceptible to water or mud if you venture into the deep end. To clean your heater, you’ll have to take the ducts off and power wash them – similar to cleaning out your radiator.
Some heaters come with shutoff valves so that you can turn them off in the summer. If not, you can always add a shutoff switch during the install process or after the heater is already in place!